
In the mission for the ideal mug of espresso, keeping a spotless espresso creator is a significant step frequently ignored.
A spotless espresso creator guarantees an extraordinary tasting brew as well as broadens the existence of your machine.
In any case, what do you do when you’re out of vinegar, the go-to cleaning specialist for most enthusiasts?
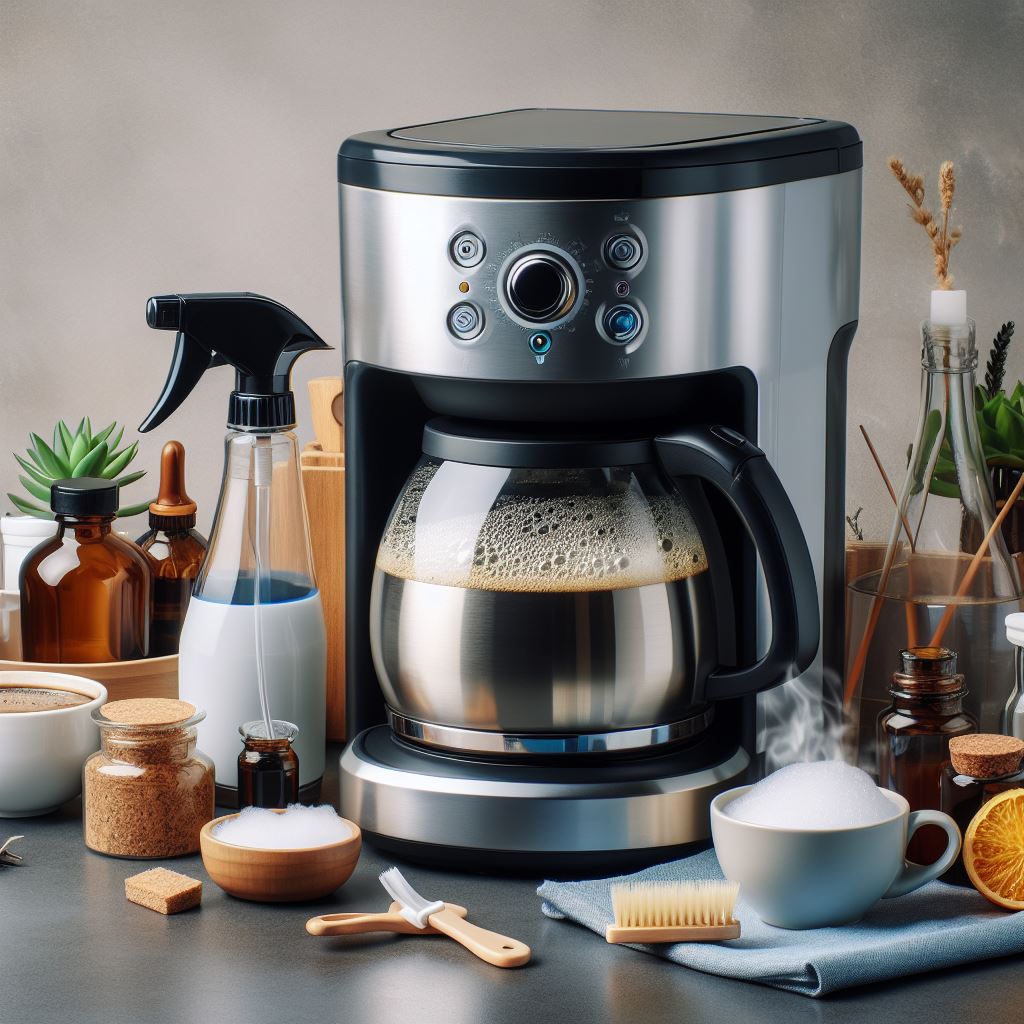
Fortunately, there are a few powerful, without vinegar techniques to keep your espresso creator shimmering clean and your espresso tasting its ideal. We should dive into these other options and brew a superior mug of espresso today.
How to clean coffee maker without vinegar: 5 Easy Tips
Tip 1: Baking Pop
Baking soft drink is an incredible, non-poisonous option in contrast to vinegar.
Tip 2: Lemon Juice
Citrus extract found in lemon juice can really clean your espresso producer.
Tip 3: Dental replacement Cleaning Tablets
These tablets are shockingly valuable for eliminating espresso stains.
Tip 4: Sanitizer Wipes
For a fast spotless, sanitizer wipes can be helpful.
Tip 5: Ordinary Upkeep
Ordinary washing and air drying can forestall the development of espresso buildup.

Alternate Cleaning Methods; How to clean coffee maker without vinegar
Strategy 1: Utilizing Baking Pop
Start by dissolving a quarter cup of baking soft drink in water, and fill the espresso producer’s repository. Run a preparing cycle, then, at that point, run two additional cycles with plain water to wash the machine completely.
Strategy 2: Lemon Juice Cleaning
Fill the repository with a balance of water and lemon juice. Run the preparing cycle, let it sit for a couple of moments, then finish the brew. Rehash with water to guarantee no lemon flavor remains.
Strategy 3: Dental replacement Tablets
Fill the supply with warm water and break up two dental replacement tablets in it. Run a fermenting cycle, then wash completely with water, running two extra preparing cycles.
Strategy 4: Sanitizer Wipes
Wipe all outside pieces of the espresso producer with sanitizer wipes, it is disregarded to guarantee no region. This technique is amazing for fast day to day cleanings.
Technique 5: Ordinary Flush and Air Dry
After each utilization, flush the carafe and brew bin and permit them to air dry. This technique forestalls the development of espresso buildup.
Step-by-Step Guide: Cleaning with Lemon Juice
Stage 1: Assemble Your Provisions
Before you start, guarantee you have new lemons or packaged lemon juice, clean water, and your current espresso producer.
Stage 2: Blend the Cleaning Arrangement
For the cleaning arrangement, blend a balance of lemon squeeze and water. This combination will act as your cleaning specialist, slicing through any buildup or develop in your espresso creator.
Stage 3: Run the Brew Cycle
Empty your newly blended arrangement into the water supply of your espresso creator. Begin a brew cycle and permit the lemon-water blend to course inside the machine.
Stage 4: Let the Arrangement Sit
When the blend cycle is finished, let the lemon-water arrangement sit in the espresso pot for around 15 minutes. This resting period considers further breakdown of any difficult grime or soil.
Stage 5: Flush Completely
Subsequent to allowing the answer for sit, flush the espresso pot and run 2-3 extra water pushes through the espresso creator. This guarantees any waiting lemon taste is totally eliminated, passing on you with a spotless and prepared to-utilize espresso creator.
Step-by-Step Guide: Cleaning with Baking Soda
Stage 1: Arrangement
Guarantee you have baking pop, clean water, and your espresso creator prepared. For this interaction, you will require about a quarter cup of baking pop.
Stage 2: Blend Baking Soft drink Arrangement
Blend the baking soft drink in water until it is completely broken down. This arrangement will be your cleaning specialist, which helps in eliminating espresso buildup.
Stage 3: Begin the Cleaning Cycle
Empty the baking soft drink arrangement into the espresso creator’s repository and begin the fermenting cycle. This permits the baking soft drink answer for flow through the machine and clean the inside parts.
Stage 4: Let the Arrangement Work
When the blending cycle is finished, permit the answer for sit for around 15 minutes. This resting period lets the baking soft drink arrangement further separate any difficult stains or buildups.
Stage 5: Wash Completely
After the resting period, wash the espresso pot and run no less than two plain water pushes through the espresso producer. This guarantees that any remaining baking soft drink is totally taken out and your espresso producer is new and clean for its next use.
Care and Maintenance Tips for Your Coffee Maker
1. Consistently Spotless After Each Utilization
Normal cleaning after each utilization can forestall the development of espresso buildup and oils that can influence the kind of your mix. This incorporates washing the carafe, brew bushel, and some other removable parts.
2. Try not to Leave Old Espresso in the Carafe
Leaving old espresso in the carafe can prompt obstinate stains and radiate a disagreeable smell. It’s ideal to exhaust and wash the carafe following use.
3. Decalcify Your Espresso Creator Consistently
Assuming you utilize your espresso creator oftentimes, decalcifying it consistently can assist with forestalling mineral development. This should be possible utilizing any of the without vinegar techniques portrayed previously.
4. Store in a Cool, Dry Spot
To drag out the life expectancy of your espresso creator, store it in a cool, dry spot when not being used. Keep away from regions with high dampness as it can harm the machine’s interior parts.
5. Counsel the Machine’s Manual
Continuously counsel your espresso creator’s manual for explicit cleaning guidelines. Keep in mind, what works for one machine may not work for another.
Conclusion
All things considered, keeping an ideal coffee maker is key for the life expectancy of your machine as well with respect to the idea of your blend. By using family things like baking pop, lemon juice, and dental substitution tablets, you can truly clean your coffee maker without relying upon vinegar. Standard cleaning and upkeep, joined with suitable limit, will ensure that your coffee maker serves you well into the endless future. Remember, the way in to an uncommon cup of coffee isn’t just in the beans you pick, yet moreover in the tidiness of your coffee maker. Merry maturing!
FAQS
Q1. What can you use instead of vinegar to clean coffee maker?
Rather than vinegar, you can utilize baking pop, lemon juice, or dental replacement tablets to clean your espresso producer. These family things can successfully eliminate espresso buildup and mineral development, improving the life and execution of your machine.
Q2. What is the best thing to use to clean a coffee maker?
The best thing to clean an espresso creator is an answer of a balance of water and white vinegar. This combination proficiently disintegrates mineral development and espresso oils. Be that as it may, baking pop, lemon juice, or dental replacement tablets are great without vinegar options.
Q3. What can I use instead of vinegar to descale?
Rather than vinegar, you can utilize lemon squeeze or baking soft drink to descale your espresso creator. These regular fixings successfully separate mineral stores without leaving a waiting smell or taste. Continuously flush completely in the wake of descaling to guarantee no deposits remain.
Q4. How do you Decalcify without vinegar?
To decalcify an espresso creator without vinegar, you can utilize lemon squeeze or baking pop. These regular substances go about as descaling specialists to separate mineral development really. Continuously wash your machine completely in the wake of descaling to guarantee no buildup is abandoned.
Q5. Can you clean a coffee maker with lemon juice?
Indeed, lemon juice is a successful cleaning answer for espresso creators. The citrus extract in lemon juice helps separate calcium stores and oils abandoned from espresso, leaving your machine new and clean. Continuously flush completely subsequent to cleaning.